Dispatching to

Assembly Needed
Product Dimensions
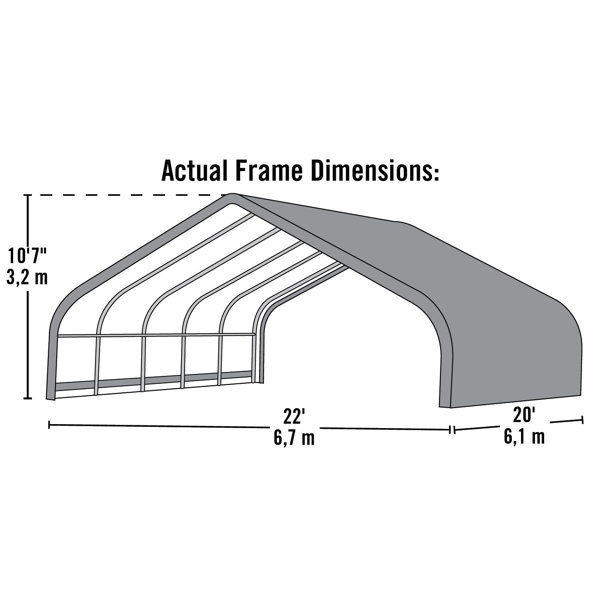
Other Dimensions
Details
Assembly
Documents
For all items purchased now through December 31, the deadline to return has been extended until January 31. Exclusions apply.
Learn More
Earn {RICH_TEXT_POTENTIAL_REWARDS} in rewards today, plus free standard delivery² when you join.
Rated 3.2 out of 5 stars
AI-generated from customer reviews
Showing 1-5 of 12 reviews
Rated 5 out of 5 stars
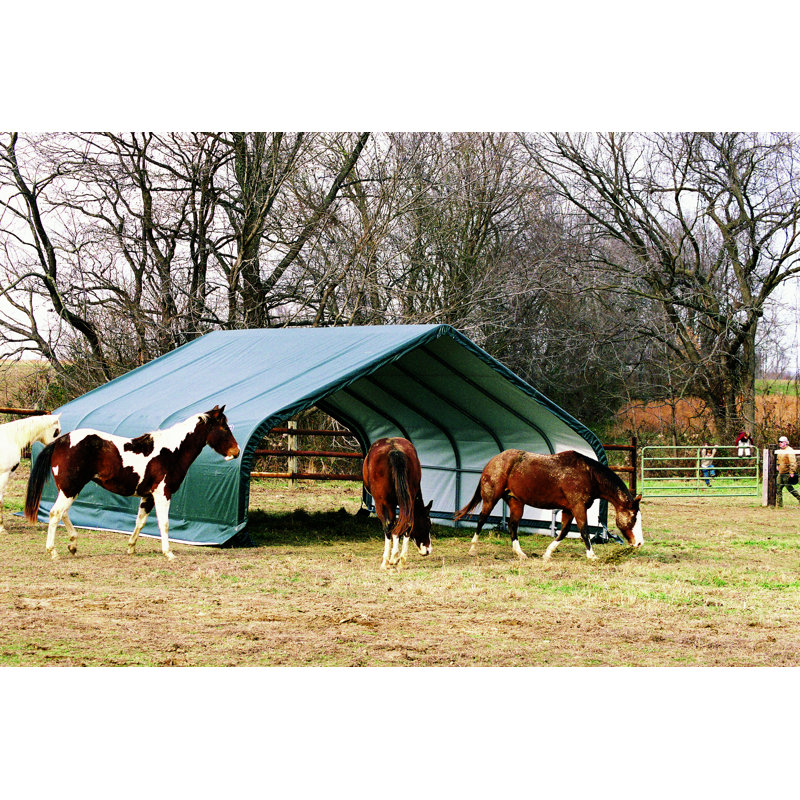
My horses have relied on this shelter for 15 years. Keeps them dry and out of the sun. Their go-to place. My first Shelterlogic (exactly like this one - 12'x20'x8') was turned into a pretzel after high winds on the hill last month. It had been standing for over 15 years; we were lost without it. I replaced the canopy once in that timeframe. Last weekend, I assembled a new one (pic). All good now!!!
Rated 3 out of 5 stars
First of all the Instructions are not up to par. Most important is that the pipes would not fit together, the inside of all the holes on one side of the pipes had to be deburred by hand which added more work than necessary. When they were drilled only the outside of the exit holes on the exterior of the pipes were deburred at the factory.
Rated 2 out of 5 stars
I bought this for my two horses in 2015 after seeing them in use at a previous barn. During that time, It withstood tropical-storm-force winds and didn't move. I overlooked the fact the shipping box arrived ripped apart, there were no instructions and the kit was missing the feet (replaced with a phone call to ShelterLogic). However, it's been less than three years and I now have to pull the shelter down because two of the larger main frame end pieces have broken as well as two smaller side supports AND the cover has torn down the middle. What once was a shelter for my horses is now a hazard. I was very happy with the shelter until it fell apart during the past two months.
Rated 3 out of 5 stars
I bought this less that a year ago. Wind cause the side to collapse- pipes bent.
Rated 4 out of 5 stars
the lack of instructions "suck" you got different size bolts, pipes and other pieces, you have to sort out all the pieces then use a lot of common sense, once you got all that it's just repeating each step, but note the first two arches are the key pieces with the 3 different size pipes and angle pieces, the tarp is a guessing game on how tight it should be, me first I let it lose then next day over tighten it for about an hour then I loosened the lower pipes and let it find it own relaxed position and then set the ratchet pieces till it felt about right, the screw down anchors, again common sense to use the only holes left and put the cables on after you got the tarp is in place it's just easier and the little rubber pieces is for the end on the bolts so the horse doesn't get hurt. With all that said I like it and at the farm we are at there will soon be a 2nd one, with more to follow, after all the first one was the hardest, now that I know how to do it and save time the rest will be easy. Jim from Herbertsville NJ